
Plastic Beehive Frames
I’m a bloke with a small garden, allotment, beehives, wife, small child, full time job and a bee blog. In winter it’s manageable, it’s mainly the job and the family to contend with. But in summer, I literally run around the lawn with my push mower, do 2 hour emergency weeding once a month and have 30 minutes for weekly bee inspections. It does not feel like the good life until 10pm when I’m sitting on my bench with a beer staring at the stars and wondering what I can do less of.
After spending 1 hour and 40 minutes assembling 10 frames for another super and realising I needed an extra day (that I didn’t have) to assemble more, I thought I’d google and see if there was a better option. An option that would hopefully mean I didn’t bodge frames so badly that they needed to go on the fire, or that the remaining 80% of my frames had minor defects.
Finding a time-saving solution became even more pressing when I realised that, when I’d originally put my frames together a couple of years ago, I’d glued in both the bottom bars, not appreciating that I would need to take out the wax every few years. Rather than this being an excellent idea of mine to ‘ad lib wih the instructions’, it turns out that I’ll probably need to build another fire to chuck on some more useless frames I’ve spent time on!
Anyway in order to save you guys time – here’s what I’ve found out …
Plastic Beehive Frames
Beesy Frames
I’d seen an advert in the BBKA magazine for Beesy frames (link below) which used plastic corners and MDF strips: “Snap together, no more nailing” – sounded perfect – especially as they cost just £10 for 10 frames.
These frames are definitely worth considering and the cheapest I have found (cost comparison below).
Beehive Bits
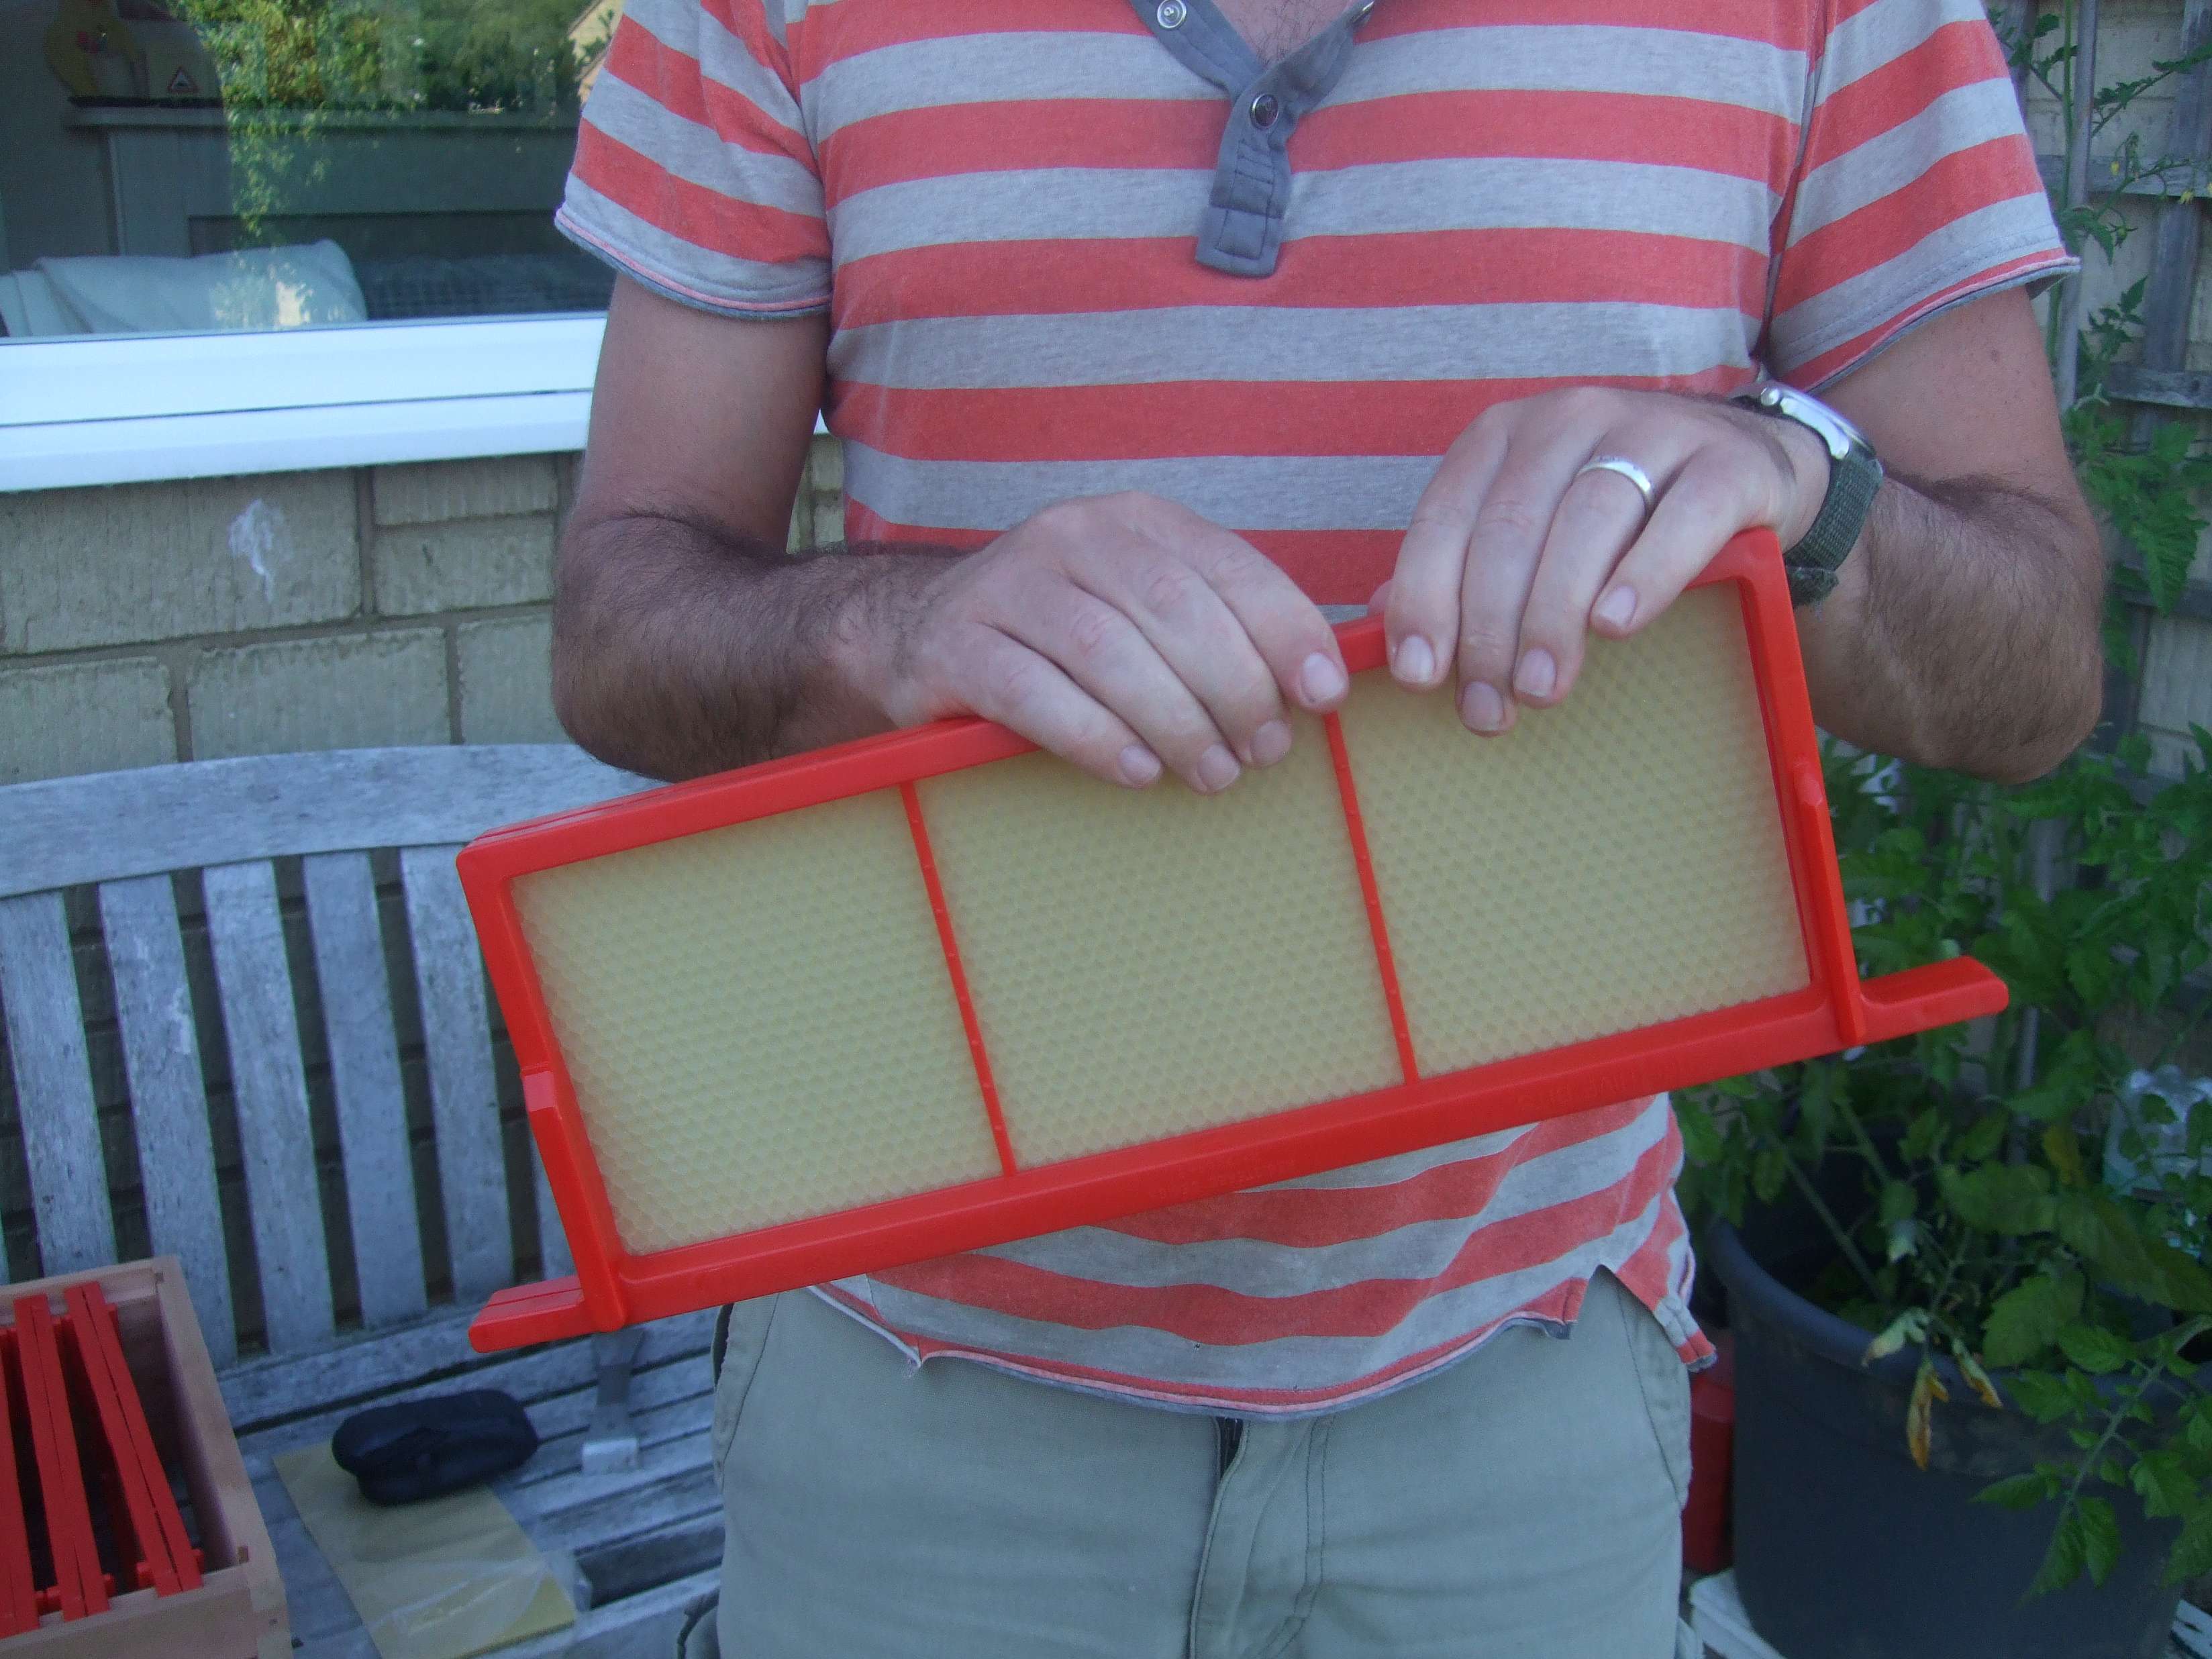
Next, I came across Beehive Bits. Their frames are 100% plastic. Their website stated “They are delivered to you already made and just need foundation. To do this just prise the frame apart with your hive tool, slide your chosen foundation into position and close the two sides back together. No more nails needed and ready to use within minutes. They can be cleaned very easily by simply boiling, a plastic bag in the deep freeze or even cleaned through a dishwasher therefore making them ready to re-use”.
Even though they were a bit more expensive I decided to go with them because of the dishwasher bonus and, er, because they looked shiney and red. Here I am assembling one:
I am delighted with these frames as it took me less than 15 minutes to make 10 of them. Now I just need to see how the bees find them. They don’t make them for 14×12 frames, so I might call Beesy over the winter.
Grateful for any comments on people’s experience of plastic frames.
Price Comparisons
These prices do not include wax foundation or delivery or bulk pricing and are correct as of 6 July 2014.
- 10 Beesy super frames: £10.00
- 10 flat pack super frames (bee equipment suppliers): £12.00
- 10 Beehive Bits super frames: £18.50
With the Beehive Bits frames you can use the unwired foundation, saving yourself £1 per 10 frames.
Photos Of Plastic Frame Assembly


Hive Update
- I saw a Queen hatch out in Hive Two – pretty sure it was supercedure as there were eggs in the cells and I heard a laying queen piping a few times as I searched all over for her
- All hives have laying queens
- I have a total of about 2 supers of honey so far from 3 hives (hive three has not produced a surplus yet)
Read More
- MDF / Plastic frames: Beesy Frames
- Plastic frames: Beehive Bits
- Related Post: Piping Queen In The Hive
- Where we are in the Beekeeping Calendar
- Key beekeeping activities of the moment: Varroa Management
- One year ago in the apiary: Talking With Bees Gets Published
- Two years ago in the apiary: Proud Dad
- Hive Record Cards: Hive One, Hive Two, Hive Three, Hive Five


